Translucent Christmas Ornaments
| December 2017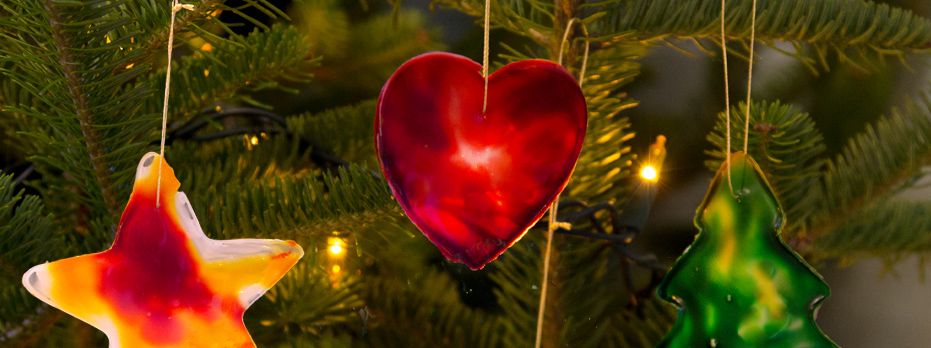
Swirling food color into wet glue is a classic Pinterest favorite, but you'll want to try it this season with this new and unique twist: Christmas shapes. Once they're dry, hang the translucent, colorful ornaments on your Christmas tree and the lights will make them glow and sparkle.
This activity is great for any kids Pre-K or older (you'll find that adults will also find this irresistible)! Younger children will enjoy it as well but will most likely need assistance.
Materials needed:
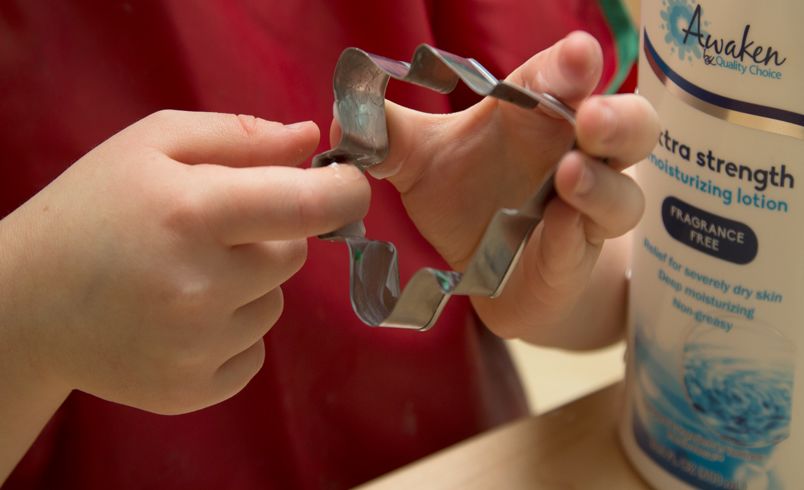
- Hand lotion
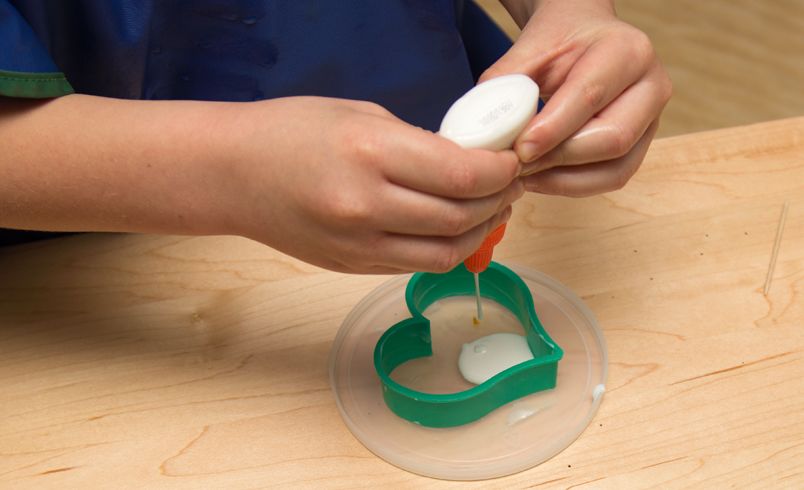
- Elmer's Glue
- Food Color
- Cookie Cutters
Instructions:
1. Rub hand lotion on the inside of the cookie cutter. (This will make it easier to pop the ornament out once the glue is dry.)
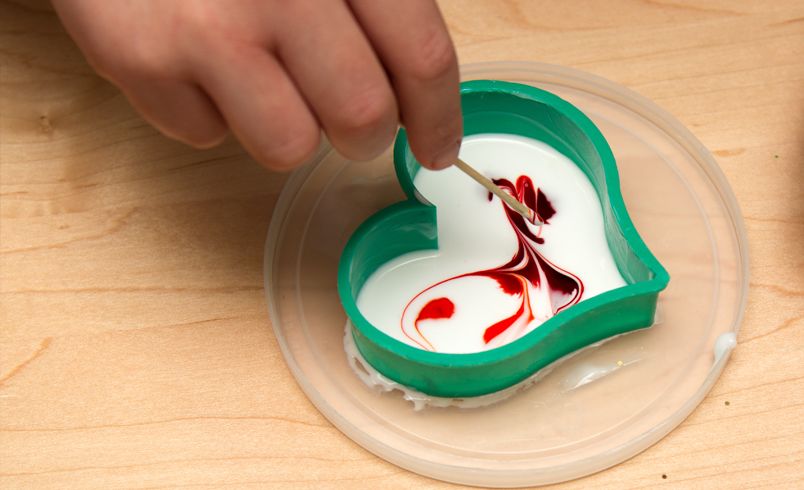
2. Place the cookie cutter on a plastic lid. Squirt a layer of glue into the cutter, making sure the glue reaches the edges.
3. Place a few drops of food color into the glue.
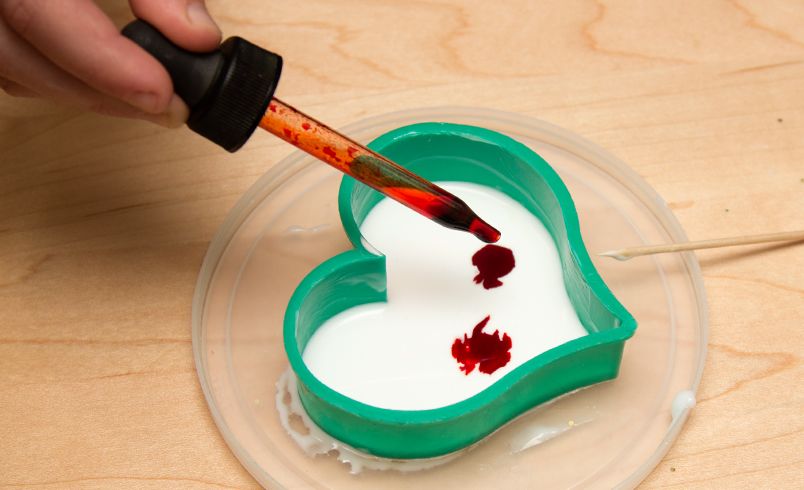
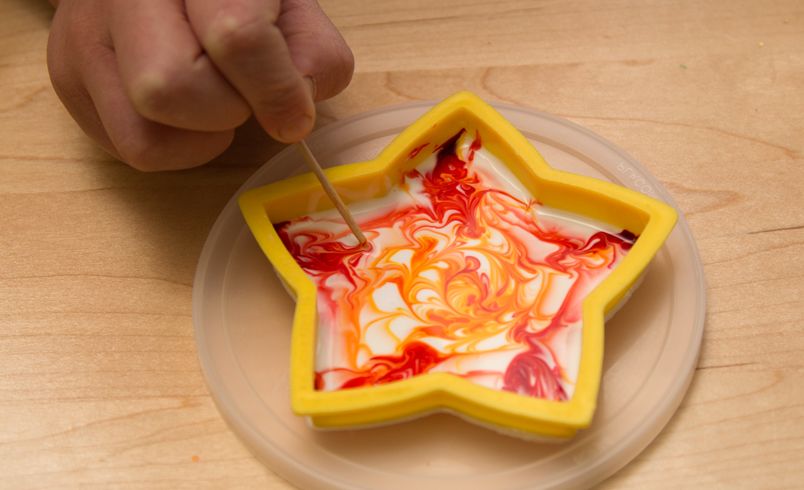
4. Swirl the color around in the glue using a toothpick. The patterns that are formed in the wet glue are intriguingly beautiful.
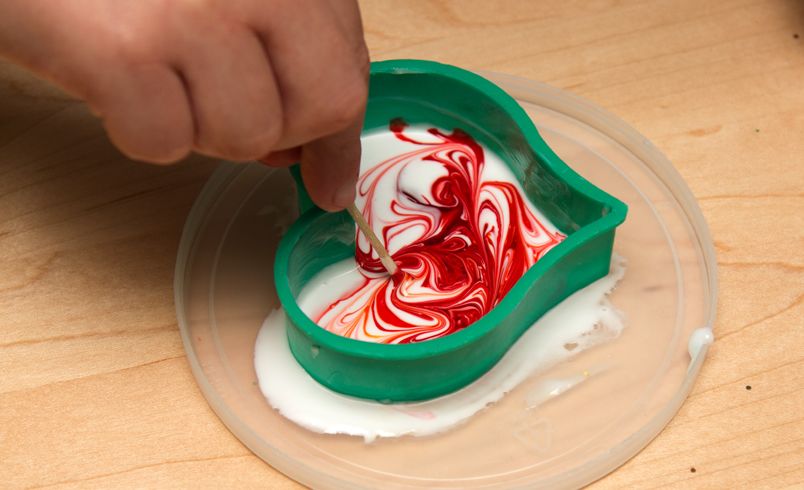
5. Try adding multiple colors of food color, just go easy with the amount of color - it gets "muddy" rather fast!
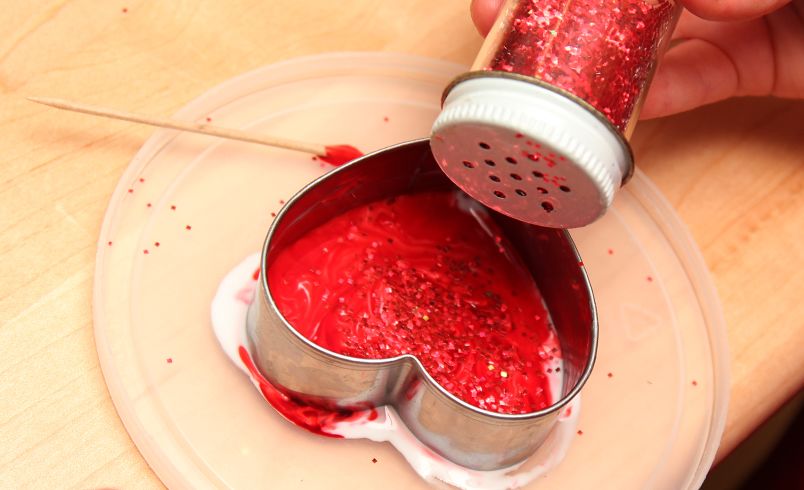
6. The glitter-lovers will want to add glitter, of course.
7. Set the ornaments in a safe place, and let dry for about 2 days. Once dry, they should pop easily off the plastic lid. Loosen the edges of the cookie cutter carefully, and with a bit of wiggling, the ornament will slide out. Make a small hole with a needle or a paper punch and insert a string. Hang them on a Christmas tree and enjoy the colorful glow!