Mud Masters:
Setting up a Mud Play Area in your Outdoor Space
| June 2019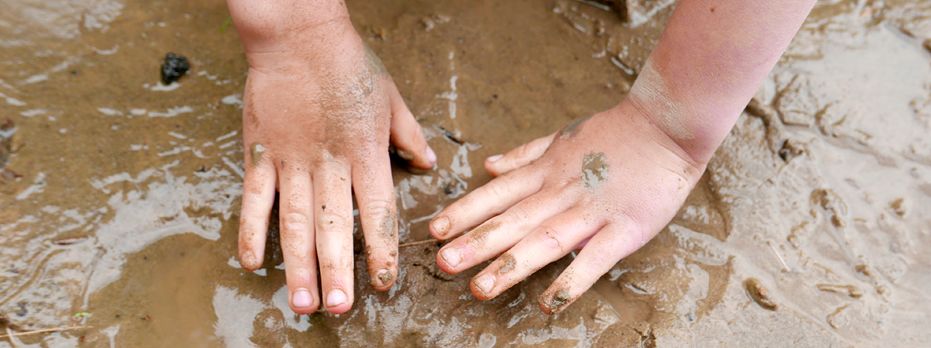
Dexter walks up onto mud mountain with a squelch, squirch of his mud boots. He has with him a bucket and spoon from the mud kitchen. He gathers up a few scoops of mud into a bucket. Gretta comes along and encourages Dexter to make a milkshake. Dexter replies, “This mud is too thick, we need water.”Dexter and Gretta take the bucket to the mud kitchen and begin to problem solve adding more water to make just the right consistency for a milkshake!
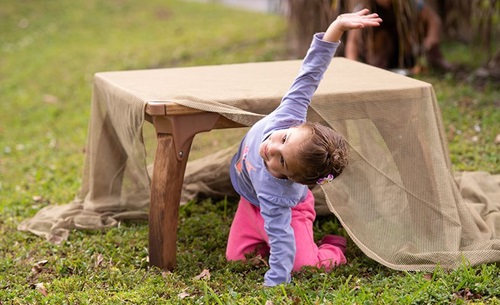
Given a chance, children will always find opportunities for messy play whether in a yard, an outdoor classroom, or neighborhood park. Most children naturally enjoy getting dirty, playing in the mud, and squishing mud between their feet and fingers.
So how do we as adults, teachers, or parents get ready to support this type of play? We first have to examine our own level of comfort in ‘getting dirty.’ If we as adults do not believe that messy play is a joyful experience it will be difficult support children’s messy play.
Getting Started
The first step in becoming a master of mud play is having the right set up. This involves planning, gathering, and talking.
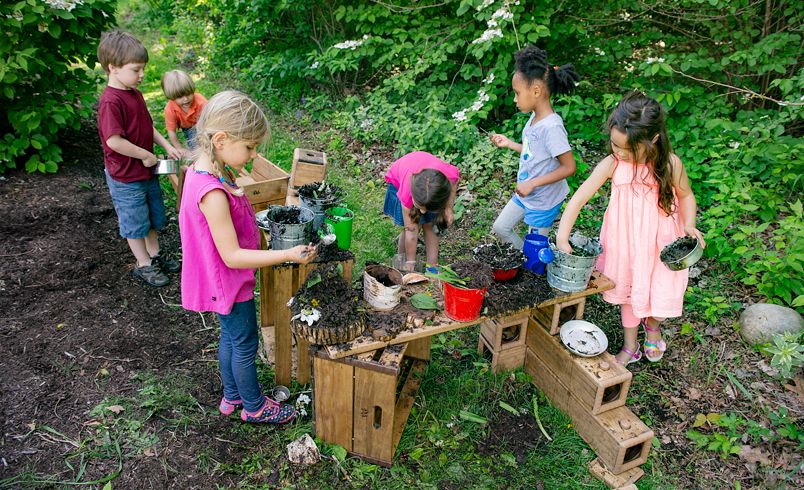
Location
The location of your mud area is very important. Involve the children in talking about where the best place would be. It may be a trial and error process to find the right spot with both dirt and access to water. You also want to avoid high traffic areas of your yard. If you don’t have available dirt, try making a few phone calls to your local landscaping companies and see if they might donate a load of topsoil to your school. We did this and now have a mound of dirt about three feet high fondly known as “Mud Mountain”.
Materials
Equipping your mud kitchen is the easy part! Be sure to include the children and families in this step. Make a request out to families to bring in pots, pans, spoons, hand mixers, and—the most popular tool in our mud kitchen—strainers.
Launching mud play requires careful and thoughtful conversations with children and families. During your conversation with the children, it is important to discuss the “ground rules” for the area—a plan to respect the materials and to stay safe. These rules should come from the children, for example: “do not eat the mud,” and, “if you smear it on your face, do not get it in your eyes.” Discuss with parents the importance of appropriate clothing—when children are engaged in active play they will get messy! Providing old clothes and old footwear for use in the mud area is helpful.
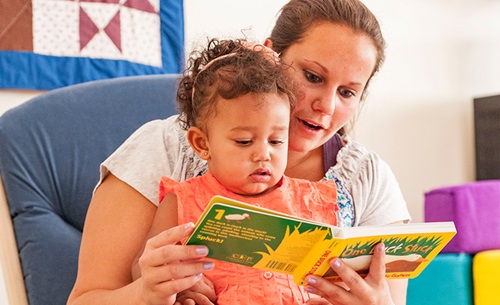
Including family members in the mud area is the best way to communicate the learning potential of messy play. Allow parents to observe the play happening and encourage them to ask questions as they observe. This provides the opportunity for the teacher to point out the learning moments as they are happening. Be sure to send pictures and add connections to learning. For example, sending a picture of a toddler transferring muddy water from container to container makes the learning visible by illustrating the problem solving of math concepts. The toddler has to problem solve, asking the question—will the same amount of muddy water that fits in one bucket fit in the next one? These are math concepts about volume and measurement.
Eventually, the children will become the spokespersons for the area by telling the stories of what is happening and what they love about the space. As the teacher, make sure to document these stories and make the learning visible to parents. This will help the parents view the mud play space as a learning space.
Now that the parents are invested and the children are knee deep in the mud ready to explore, the role of the adult in mud play is to be a co-facilitator of the exploration. Get ready to support the play!
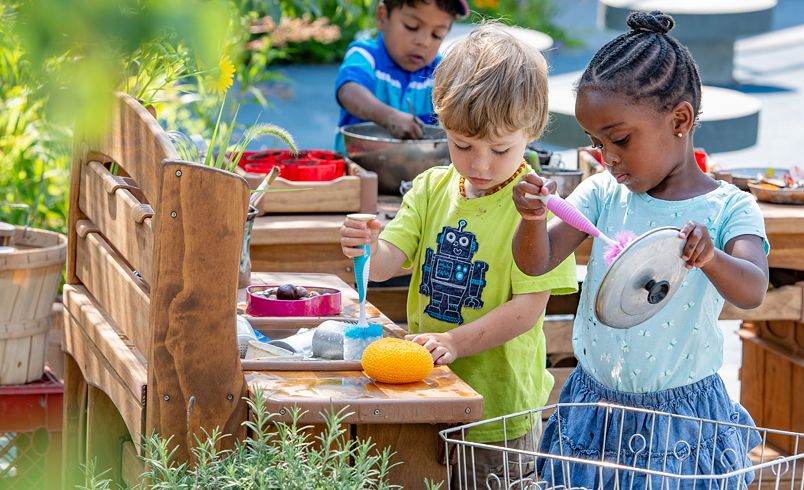
Supporting the Play
Once you have materials ready and the space organized it is time to start playing! Carefully observe and follow the lead of the children—they will show you how to best use the area.
Possible observations include:
- What ways are the children using the materials?
- What questions are they asking when mixing dirt and water?
- Are children noticing the different textures and consistencies of the mud?
- Are there children who are hesitant to get their hands messy?
Teacher Tip: If you have sensory issues or are not comfortable getting your hands completely covered in mud try using a shovel, spoon, or wear gloves to move the mud instead of your hands. It is really important to facilitate play in a way that you, yourself are comfortable with so you do not shy away from the mud kitchen area. Children need you there for the co-inquiry to happen, to be a play partner. It is very likely that there are also children who might not like mud caked all over their hands but really want to play in the area, so there is opportunity for you to model these problem-solving techniques.
Mud Master Provocations
When you need to add new materials or extensions to their play below are some favorite provocations from our mud kitchen.
Mixing and dumping
Depending on the age level of children, mixing and dumping could be a very long phase of exploration in your mud play area. One way to extend this exploration phase in mud play is to add different sized containers. Add some extra problem-solving by introducing containers with holes. A challenge can also be created with mixing up different consistency of mud—thick, gooey, and watery. Adding natural materials also creates an extension to this type of exploration. Mixing sand, rocks, flowers, or leaves into the mud will change the flow of the mud.
Will the mud stick?
Children enjoy the trial and error of throwing mud on a vertical surface and watching it slowly move down or falling off. The first challenge is to get the mud in the right consistency to form into a ball. Large motor skills are required to then accurately throw the mud ball onto the vertical surface!
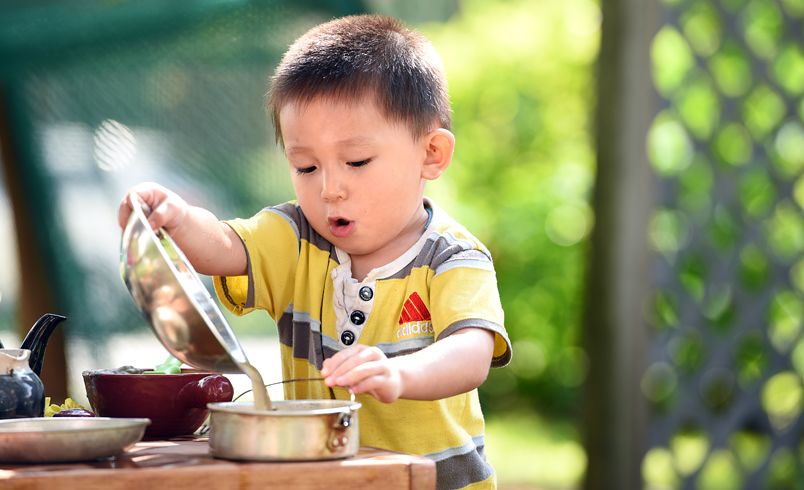
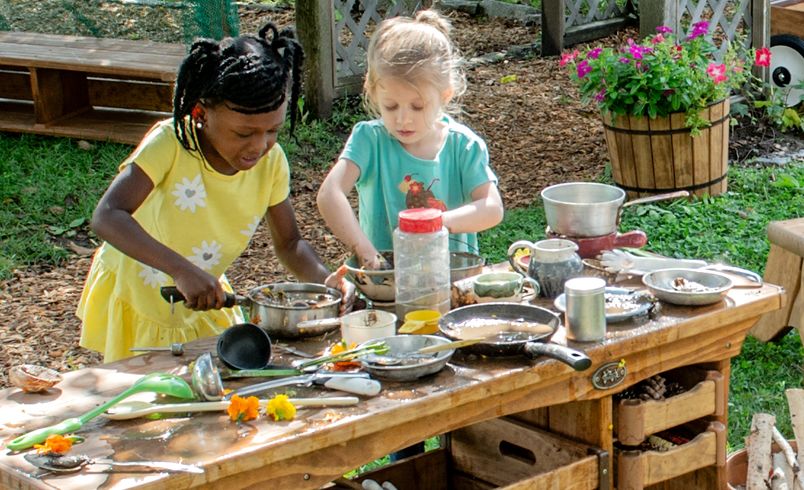
What's cooking?
Including diverse materials in the mud kitchen sparks dramatic play. Adding real kitchen tools inspires cooking and baking. Incorporating other natural materials such as leaves, flower petals, sand, and chalk dust invites more creativity. (Scraping a chalk stick against the edge of a pan creates small flakes of chalk dust. Adding this to mud is magical because it colors the mud for a brief moment!) Encouraging children to name their new flavors of ice cream, pies, or other creations extends the creativity as well.
Washing Up!
Clean up is part of the routine in every play area. Make sure the mud area is not seen just as a messy area but that everyone takes time to give it the attention it needs for clean-up. Providing adequate storage for the tools is essential in keeping the area tidy. Consider adding clean water buckets with soap to the area and allow children to wash the surfaces, tools, and materials to get the layers of dirt and mud off the surfaces. While it will never be sparkly clean, a tidy, well-kept area is inviting for children.
Teacher Tip: Big car wash sponges work great to clean up the mud kitchen surface, but make sure at the end to wash out the dirt from the sponge and dry it completely in the sun or you will have a stinky sponge in a few days!
If you think the mud kitchen is only for spring and summer season you are missing out! The snow is just as fun to mix into the exploration of the mud kitchen. Winter mud kitchen play sparks all different types of sensory experiences. Enjoy being a Mud Master all year round!