Why Woodworking?
| February 2019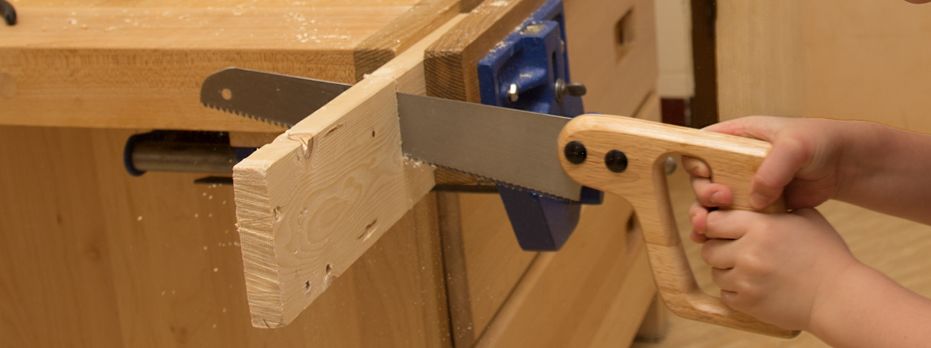
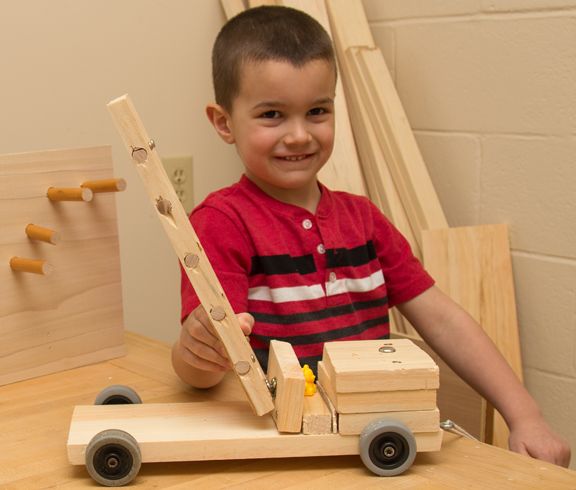
“Why woodworking for young children?” Our answer to that simple question is “Why not woodworking?” Providing opportunities for open ended exploration with wood and real tools gives young children a chance to learn valuable skills and new ways to be creative.
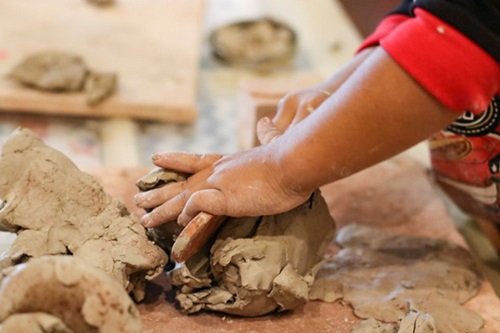
Many early childhood teachers are adding maker spaces to their classrooms. Along with traditional areas of art, blocks, manipulatives, book corner, dramatic play, and science exploration, maker spaces provide open ended, creative outlets for children to develop their ideas with no right or wrong answers. Using natural wood as a canvas for exploration provides children with an opportunity to appreciate natural resources while using real tools and developing real life skills. Woodworking takes open ended creativity to a whole new level. Woodworking allows children to be makers, tinkerers, artists, and engineers while solving problems and learning persistence and perseverance.
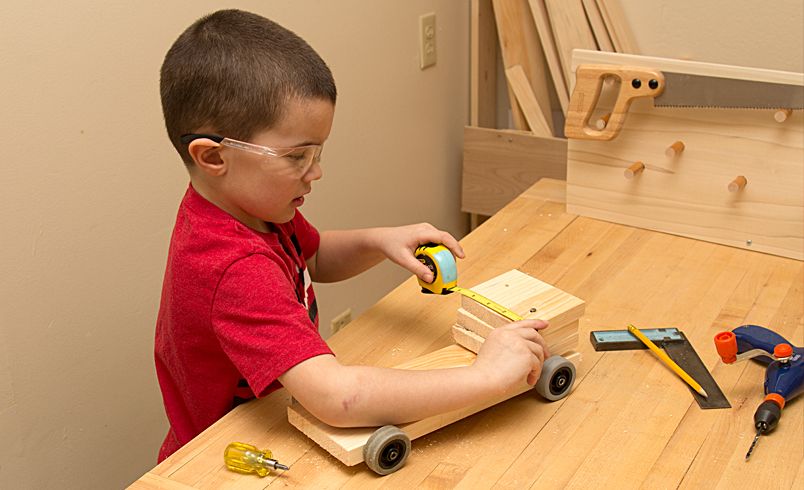
Some of the obvious benefits of woodworking include increasing fine motor skills, exploring creativity, learning problem solving skills, and developing pride in workmanship. There are also an abundance of less obvious benefits when young children are given opportunities to engage with woodworking. With support and guidance from their teachers, children learn respect for the tools and materials they are using. They learn how to use the right tool for the job, such as matching a hammer with a nail or using a nail or screw of the appropriate size and length. In addition, children are learning that tools are not toys and need to be cared for appropriately. Woodworking also teaches children a variety of math skills. Children compare size, shape, weight, and density of the wood. Tape measures can be used to determine where to drill or cut, to compare the size of the wood pieces, and measure the length of the pieces. Children are actively engaged in problem solving and using creativity while designing and constructing unique projects. They learn visualization and planning skills as well as persistence. Not every project can be completed in one session. Children might need to return to a project over the course of several days. Some children just need to bang! There are times when children may be directed to woodworking to help them become engaged, focus, or to work off stress.
Incorporating woodwork into a classroom setting
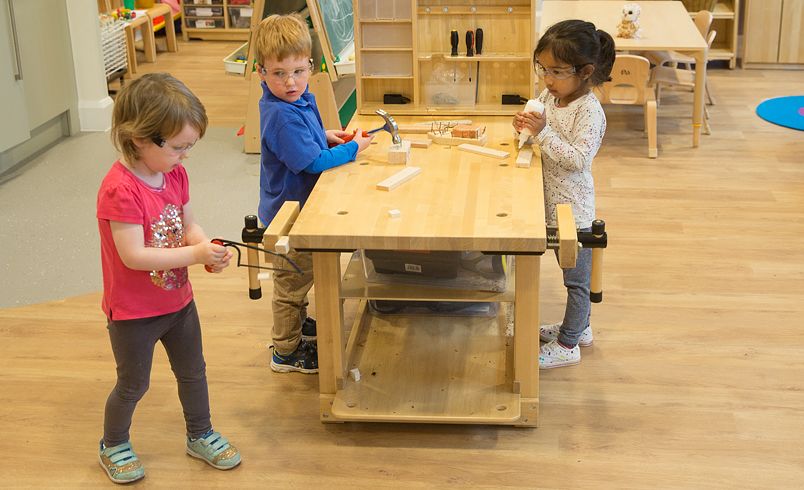
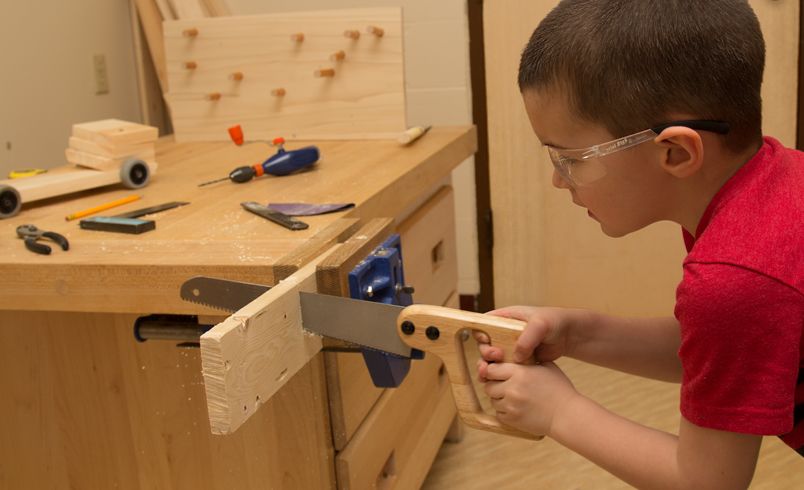
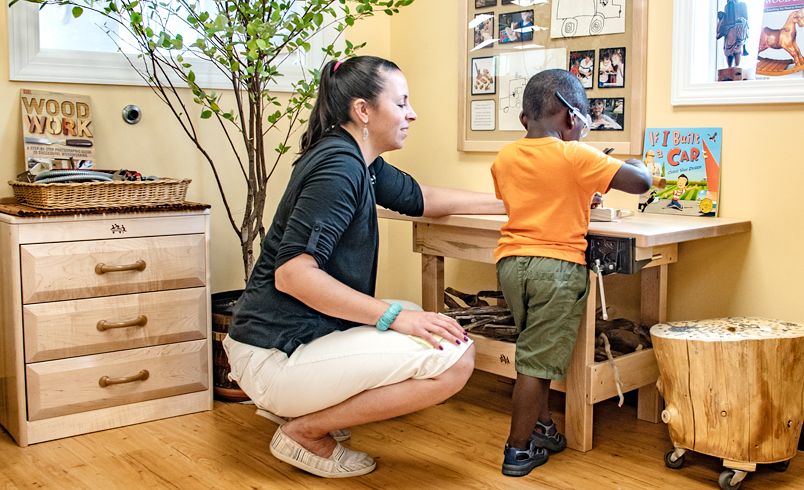
How do we incorporate woodworking in our classroom? Safety practices and appropriate adult supervision always comes first in our woodworking area. Our woodworking bench safely accommodates three children. Children are required to wear eye protection (safety goggles) and are strongly encouraged to wear closed toed shoes. Only adults may open or remove items from the toolbox. In addition, nails and screws must be secure and wiggle free. Furthermore, sharp points cannot be protruding from a finished project. Rough or splintered wood must be sanded before the project is considered complete. These safety rules help children learn a respect for the tools as well as teaching them responsibility for their safety and the safety of others. We rarely have disciplinary issues at the workbench, however, if a safety concern arises, that child is removed immediately from the woodworking area. If a child has done something that is not safe, the child is done in that area for the day and can try again on another day.
Essential equipment and materials
There are a few items that we feel are essential for a basic woodworking area. We recommend using a soft wood such as pine, fir, or aspen. The wood should be free of knots, staples, nails, and screws. The tools we use are all hand tools (nothing with a cord or an on/off switch). The tools must be sharp and in good working order. Here is a list of our toolbox essentials.
- Hammer
- Screwdriver
- Goggles
- Screws and nails (a variety of lengths and sizes)
- Sand paper
- Saw
- Tape measure/ruler
- Clamps
- Hand drills with a variety of bit sizes
- Pliers
- Pencils
- Safe storage for the materials
In addition to the basics, we like to provide supplemental materials which include
- Buttons
- Bottle caps
- Wood glue
- Washers
- Nuts/bolts
- Magnetic bowl for nails/screws
- Wire
- Ribbon
- Markers
- Spools
- Paint
- Level
Getting Started
How can you get started? We recommend that you start small. We typically start woodworking after the first month or two of school. This gives us an opportunity to get to know our class, settle into routines, and develop a strong relationship with the children and their parents. Before starting with wood and nails, you might introduce Styrofoam and golf tees, or a pumpkin and golf tees. Instead of using hammers with the golf tees, you can use wooden blocks for pounding the tees into the Styrofoam or pumpkins.
Once you are ready to get started with real wood, you need a sturdy surface and an uninterrupted block of time. You can start with just a few tools and gradually add tools and materials as the children become more skilled using the equipment. We introduce woodworking during a large group meeting. At this time, we demonstrate the appropriate use of the tools, emphasize safety, share books about woodworking, and ultimately get the children excited about the new addition to our classroom. We emphasize that only three children can be at the workbench at a time, but that we will keep a list of who is waiting so that they will not miss their turn.
We enjoy watching children create, persist, and take pride in their one-of-a-kind woodworking projects. We consistently receive positive feedback from parents. Parents are thrilled that their children have this unique opportunity. We hope you have found this information relevant, inspirational and are now ready to launch a woodworking area in your classroom.
You can contact the authors at: