Get a Grip on Fine Motor Development
| February 2020
Gross Motor Play: The Back Story
Many children enter Kindergarten with inadequate fine motor skills, poor pencil grasps, and unorthodox letter formation habits because they begin writing before they are developmentally ready. Writing is one of the most complex skills a human being performs with his or her hands. Developmental readiness for writing starts with gross motor movement and play—not worksheets and pencils!
Engaging in gross motor activity supports fine motor development by facilitating children’s ability to manage their bodies through space and increasing trunk control. These foundational skills are crucial for successfully sitting in a chair in order to write. Gross motor activities include, but are not limited to: plenty of outdoor play, running, jumping, swinging, bike-riding, ball play, dancing, and crawling.
Fine Motor Development
Prior to grasping a pencil correctly and learning how to write efficiently, young children develop the skills needed for writing through engaging in a wide variety of hands-on play experiences with toys and tools and participating in activities of daily living, such as self-feeding, dressing, and performing hygiene tasks. As administrators, educators, and parents our role is to understand and facilitate appropriate fine motor development in order to support future writing performance of young children. Important prerequisites for writing include establishing hand dominance, the ability to cross the midline, and developing the tripod pencil grasp.
Establishing Hand Dominance
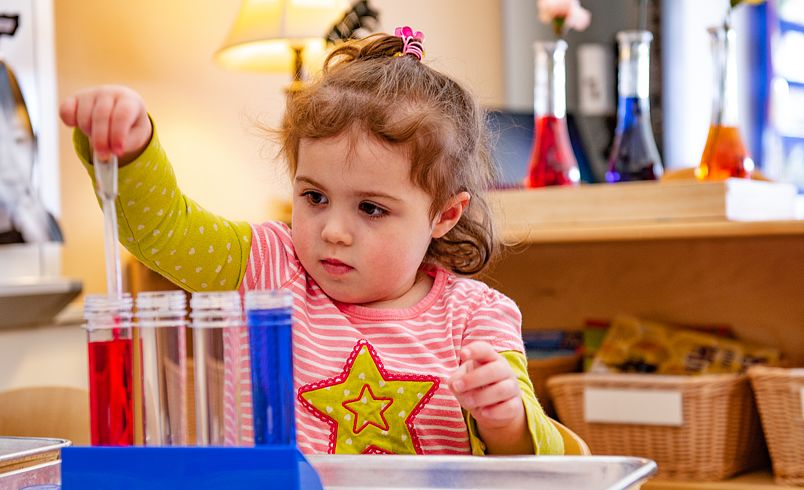
The establishment of hand dominance is a complex brain process. Proficient use of one hand over the other for handwriting, feeding, and performing other functional activities in daily life usually emerges between 4½ and 6 years of age. While it may be tempting to help a young child “decide” which hand will be the dominant mover and which hand will be the nondominant stabilizer, research strongly supports a facilitative role for teachers and parents. Encourage children’s use of hands in play and daily activities where two hands are performing different jobs in order to develop hand dominance. Presenting toys and one-handed activities or implements at the midline allows young children to use the preferred hand to grasp and use the object spontaneously, which reinforces hand dominance.
Crossing the Midline
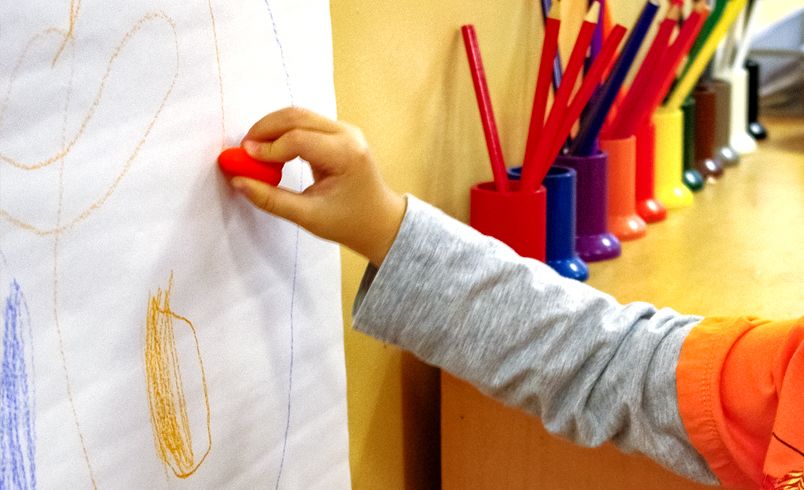
Crossing the midline indicates that the two sides of the brain are working with each other. The first expressions of crossing the midline occur through gross motor movements. Children’s hands and arms cross the body in gross motor functional movements, such as wiping off a table, sweeping the floor, or reaching across the body to pass or retrieve objects. Performance of these activities is one of the first steps toward crossing midline accurately in fine motor tasks, such as forming shapes and symbols. Correct formation of shapes and symbols, such as the plus sign (+), supports successful future letter writing where crossing midline is required, as in the letters N and T.
Developing the Tripod Pencil Grasp
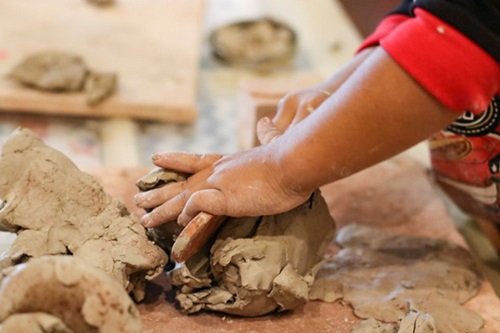
Efficient tripod pencil grasp involves three fingers working together to hold the pencil. In child-friendly terms these are the “Busy Fingers”: Thumbkin, Pointer, and Middleman. When the two other fingers, Ringman and Pinky, hold a “pillow” (cotton ball or pom-pom) against the palm of the hand and “go to sleep,” the Busy Fingers are ready to play! Of course, the Sleeping Fingers are not really sleeping. They are helping to stabilize the child’s hand so that the Busy Fingers can effectively hold and move a pencil, crayon, or tool. Before holding a pencil, children should practice the tripod grasp when using tweezers, tongs, or squeezers to sort or stack manipulatives. Simple small playtime items such as Crayon Rocks, spinning tops, wind-up toys, and squeeze droppers also promote the tripod pencil grasp naturally.
Incorporate Vertical Surfaces
We usually think of having students work and play at fine motor tasks on horizontal surfaces such as a desktop. However, a vertical surface is a more natural and preferred plane for young children. A vertical surface best supports hand skill development of young children in three ways. It engages the shoulder against gravity, which promotes the development of the hand and arm for writing, it encourages an extended wrist position needed for writing, and finally it is most appropriate visually for young children.
There are a variety of easy to access vertical surfaces in the classroom or at home. Once you start looking you’ll find many! For example:
- Chalkboard
- Easel
- Walls
- Filing Cabinet (instant magnet center)
- Refrigerator, Washer/Dryer
- Table (tipped on its side)
Try activities traditionally done at a table on a vertical surface for a new, and more appropriate, experience. For example:
- Coloring
- Stamping
- Playdough
- Shaving cream
- Magnets
- Velcro matching games
- Cutting (tape top edge to surface)
- Painting, etc…
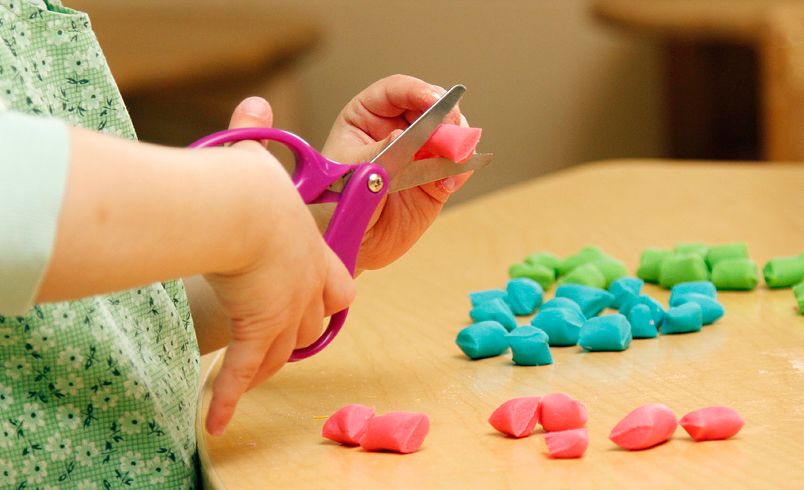
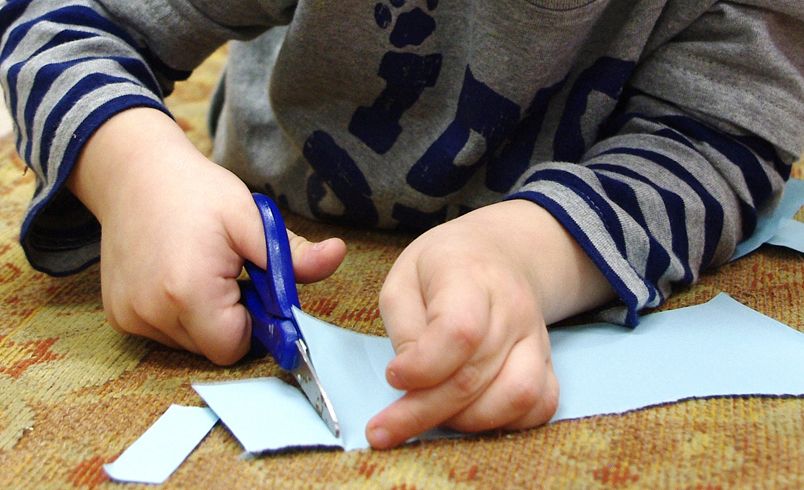
Scissor Skill Development Goes Hand in Hand with Fine Motor Development
Like writing, proficiency with scissors requires an advanced level of fine motor control. Before a child attempts to use scissors be sure that the necessary ground work is in place. Here are some easy cutting tips and strategies to increase proficiency when learning how to use scissors. Start with crumpling, ripping, and snipping, before moving on to cutting.
Crumpling of paper is the first step toward cutting with scissors. Why? When a child crumples paper he/she is establishing the needed motor planning for the “open-close” pattern required for using scissors. Crumpling is safe and fun for all levels of scissor-users with experienced cutters crumpling small bits of paper to make tiny “snowballs.”
Ripping a variety of thick papers (i.e. construction, index cards, magazine inserts) is a pre-cutting activity for young children. The ripping action facilitates the tripod grasp with hands ripping the paper in opposite directions.
Snipping with scissors means that one cut does the job. Children love to snip many different items other than paper (see media types below).
Cutting using multiple cut strokes is best practiced on thick paper types initially without lines. Next, incorporate bold, straight lines to encourage cutting accuracy. Cutting on curves can start on round paper plates. Cutting on angles and complex patterns is most challenging. Termination of cutting (knowing where to stop) takes practice.
Media Types: Thick to Thin and Short to Long
The increased stability of thicker papers helps children hold paper when ripping and hold/guide the paper while cutting. As they become more proficient in their cutting and bilateral coordination skills, thinner paper types may be introduced (i.e. copy paper) for practice. Start with short bits of paper progressing to larger sheets as skills improve.
Don’t forget to try snipping non-paper types of media as well such as playdough, grass, sandpaper, or straws. Using non-paper media is a great way to increase interest in learning how cut with scissors!
Positioned for Success: Strategies to Try
Some students perform cutting practice better when they are seated away from the desktop or table surface. Often, scooting the chair back from the table will improve positioning and holding of scissors and/or paper automatically.
Positioned for success means that the thumb is facing up on the hand holding the scissors and that the arm is moving away from the body when cutting instead of toward it. Try these strategies when the hand or arm is curved or being used in an unorthodox position:
1. Color code the thumbhole on scissors by wrapping it with tape in a contrasting color. Electrical tape, available in a variety of colors works well.
2. Tape paper to edge of desk or middle of easel so student can cut upwardly and make “fringe.” This is a great technique to correctly position the arm for cutting.
3. Have the child “hold” a small roll of paper towel or newspaper under the cutting arm to ensure that the arm stays in the correct position.
4. “Tummy Time” positioning automatically sets children up with successful positioning for using scissors.
Remember: Young children must be appropriately supervised when learning how to use scissors.
Final Note
In order to address the rise of handwriting difficulties in school, early childhood educators need to understand and implement prewriting, play-based activities such as the ones outlined above.
Appropriate fine motor skill development contributes to increased legibility of handwriting, rate of written production, test scores, and overall level of confidence at school.
To learn more contact the author at www.writeoutofthebox.com